How to Waterproof a Bathroom Subfloor
Waterproofing a bathroom subfloor is an essential step in creating a long-lasting and moisture-resistant space. Here's a comprehensive guide to help you achieve optimal waterproofing for your bathroom:
1. Assess the Existing Subfloor
Determine the type of subfloor you have (e.g., concrete, plywood, backer board). This will influence the waterproofing methods and materials you'll need.
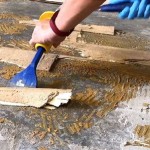
2. Prepare the Subfloor
Remove all fixtures and appliances. Clean the subfloor thoroughly to remove any dirt, debris, or previous waterproofing membranes. Install a vapor barrier on dirt floors or below concrete slabs to prevent moisture buildup.
3. Choose the Right Waterproofing Membrane
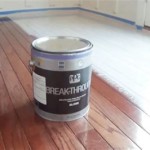
There are several types of waterproofing membranes available, including sheet membranes, liquid-applied membranes, and self-adhesive membranes. Select one that's appropriate for your subfloor type and moisture level.
4. Install the Waterproofing Membrane
Follow the manufacturer's instructions to install the membrane properly. Ensure all seams and joints are adequately sealed with compatible tape or sealant.
5. Test for Leaks
Before installing the finished flooring, conduct a leak test. Seal off any drains and fixtures and fill the bathroom with a few inches of water. Let it stand for several hours and check for any leaks or moisture penetration.
6. Install Flashing Around Fixtures
Install waterproof flashing around showers, bathtubs, and any other fixtures that penetrate the subfloor. This prevents water from seeping behind the fixtures and damaging the subfloor.
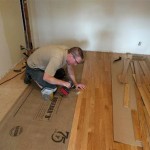
7. Install the Finished Flooring
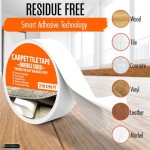
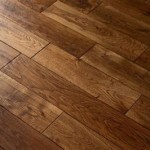
Install the finished flooring material, such as tile, laminate, or vinyl. Use waterproof or water-resistant adhesives and sealants to ensure a moisture-proof barrier.
8. Maintain the Waterproofing
Regularly inspect the waterproofing membrane and fixtures for any damage or leaks. Re-seal any areas that show signs of wear and tear to maintain the integrity of the waterproofing system.
Additional Tips:
- Use high-quality materials and follow the manufacturer's instructions carefully.
- Don't skip the leak test to ensure the waterproofing is effective.
- Extend the waterproofing membrane at least 6 inches up the walls to prevent water from seeping behind the wall tiles.
- Consider a professional waterproofer if you encounter any complex or high-moisture areas.

Condo Blues How To Prep A Wood Subfloor For New Tile

How To Waterproof A Bathroom Floor Using Schluter Ditra Underlayment Over Wood Subfloor

How To Waterproof A Bathroom Floor Using Schluter Ditra Underlayment Over Wood Subfloor

Waterproofing Microcement Within A Bathroom Wetroom Poured Resin And Concrete Flooring

Bathroom Floor Waterproofing Options And Repairs Ceramic Tile Advice Forums John Bridge

How To Make Your Bathroom Watertight Guide It Right

How To Waterproofing Your Bathroom In 10 Steps Easy Drain

Goof Proof Shower Waterproofing Sheet Membrane Underlayment Inside Corner Gpic The Home

Do I Waterproof The Entire Bathroom Or Shower Recess

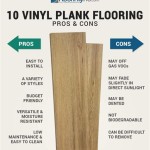
Best Bathroom Flooring Options
See Also